![]()
Beautiful Plants For Your Interior
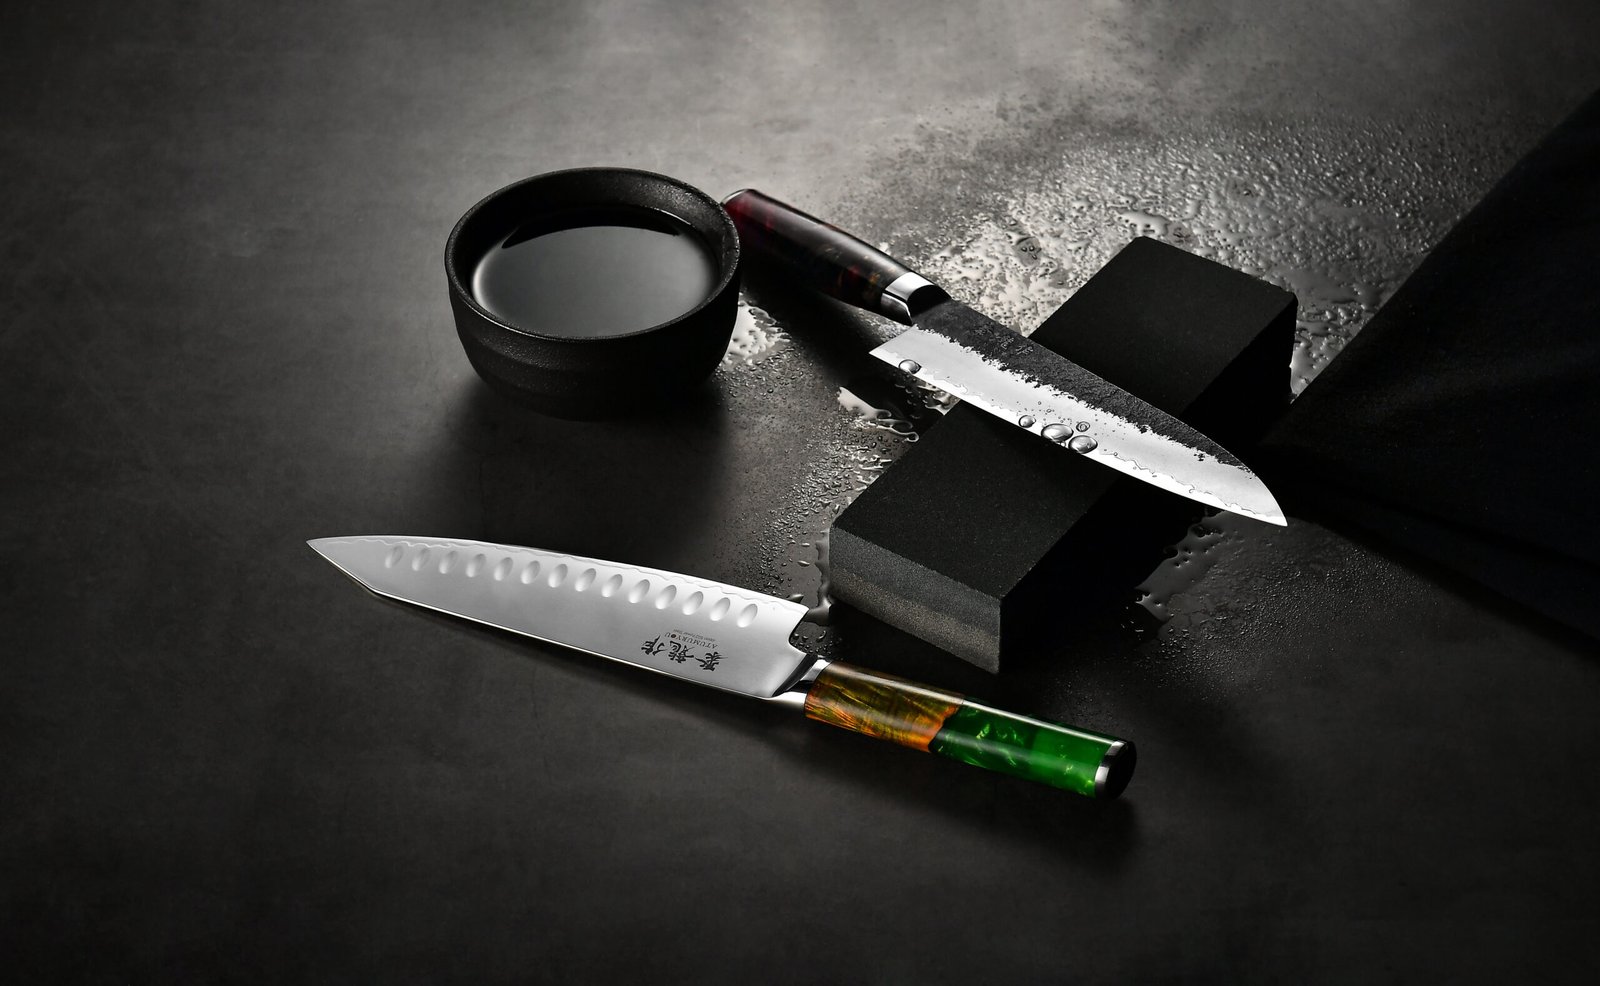
A razor-sharp edge is what defines a great Japanese chef knife — it’s where performance, safety, and satisfaction in the kitchen all begin. But even the best blade will dull over time, especially with regular use. Sharpening your knife properly is not just maintenance; it’s a craft that preserves the soul of the blade.
In this guide, we’ll walk you through how to sharpen a high-end Japanese knife the right way — focusing on whetstone sharpening, the preferred method for preserving the fine edge geometry of premium steels like SG2, VG10, or Blue Steel.
Step 1: Soak Your Stones
Most water stones (except splash-and-go types) should be soaked for 10–15 minutes before use. Ensure the stone is fully saturated—bubbles should stop rising.
Step 2: Find the Correct Sharpening Angle
Japanese knives typically have a 10–15° angle per side. Maintaining this angle is critical for performance and longevity.
Pro tip: Stack two coins under the spine as a rough angle guide.
Step 3: Sharpen the First Side
Hold the knife firmly with your dominant hand, fingers on the blade for control.
Place the knife at your desired angle, edge facing you.
Using moderate pressure, push and pull the knife across the stone, from heel to tip.
Maintain even strokes, covering the full edge length.
Repeat 10–20 strokes, or until you feel a slight burr along the opposite side.
Step 4: Flip and Repeat
Sharpen the second side of the blade with the same number of strokes and even pressure, now moving the edge away from you if you’re right-handed.
Step 5: Refine the Edge
Switch to a finer grit stone (3000–6000+) to polish the edge:
Use lighter pressure and smoother strokes.
The aim is to remove the burr and refine the edge’s bite.
For a mirrored polish, finish with an 8000+ grit stone.
**Step 6: Deburr and Clean
Strop the edge gently on a piece of leather or soft cloth.
Rinse and dry the blade thoroughly.
Clean your stones and let them dry naturally.
At Atumuryou JPCK, we believe in the harmony between steel, stone, and hand. That’s why we recommend sharpening with whetstones — to honor the craftsmanship behind every blade.and hand. That’s why we recommend sharpening with whetstones — to honor the craftsmanship behind every blade.lade.